4 Earth Day Art and Craft Ideas for Kids
The beauty of nature and ways to protect our environment – Earth Day activities focus on these, but if you have to stay at home for some reason and can’t join a community project or work in the garden, there are other fun things to do with your kids. Even very small ones enjoy dipping their fingers in paint and looking at colorful prints they leave. Older kids get excited over a variety of techniques involving paints, glue, special skills of the little fingers, and creative uses of materials. Here are a few Earth Day art and craft ideas to try:
1. Green Friends
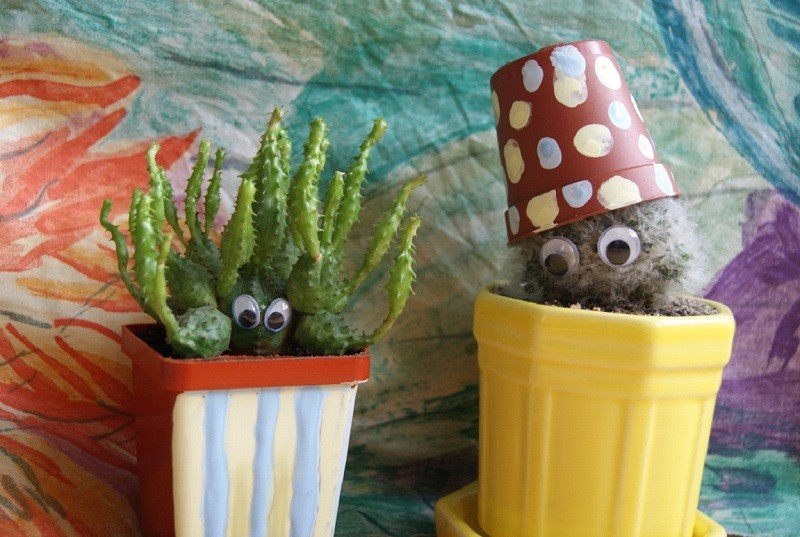
Eyes can make cacti extremely cute. Perhaps you have seen some used as decorations or on sale, but you can make your own – and your little friends can even wear a hat, a scarf or a bow. Easy and fun! However, be careful, many cacti have sharp spines that can be dangerous to small kids.
2. Potted and Dotted
Sowing seeds or planting something into pots may be fun, but why not make the pots more fun as well? Any regular ones you have can be decorated with acrylic paint, and while the easiest way is leaving multi-colored fingerprints all over, such simple cheerful polka dot design is great for small kids. Anyone willing to experiment with color will find this technique interesting: stripes, dots or irregular-shaped blots of different colors are placed next to each other. A toothpick is used to mix them with horizontal, vertical, zigzag strokes or in any other manner you like that will result in streaks of one color into another.
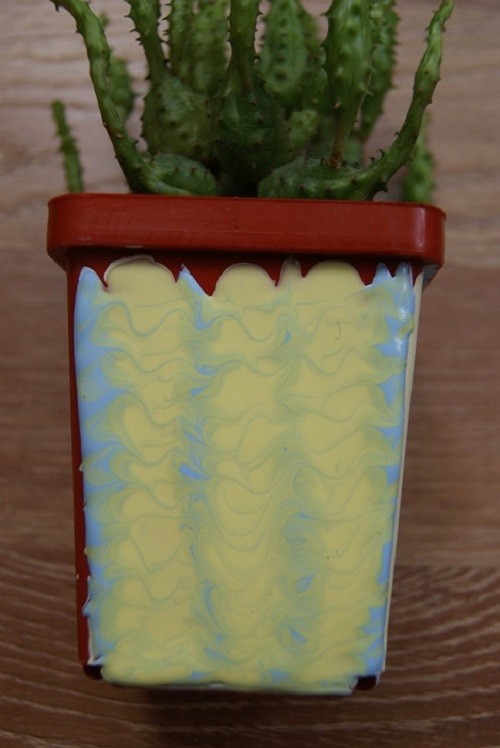
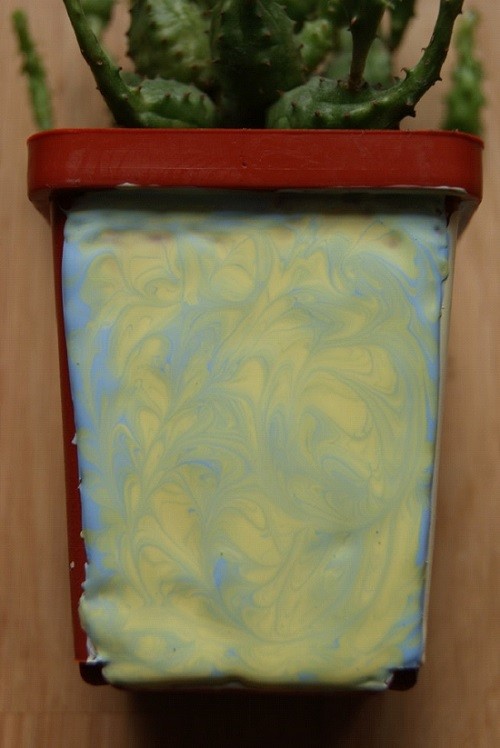
A variety of unique patterns can be created this way, and if you have a rectangular-shaped pot, each side can even have a different one.
3. Modeling Clay Art
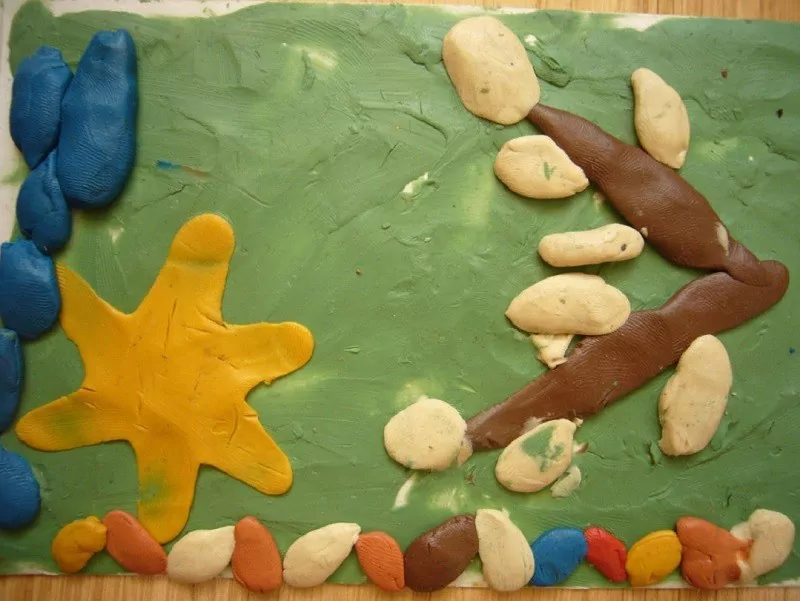
If you have many leftover small pieces of modeling clay that seem to be good for nothing, this may be a better idea than throwing them out. Some kids also find it easier or more fun than using crayons or paint brushes to create a picture.
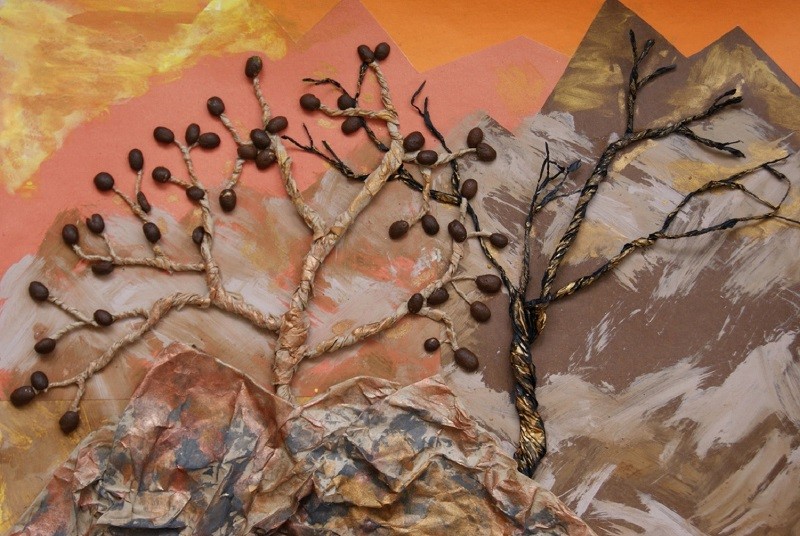
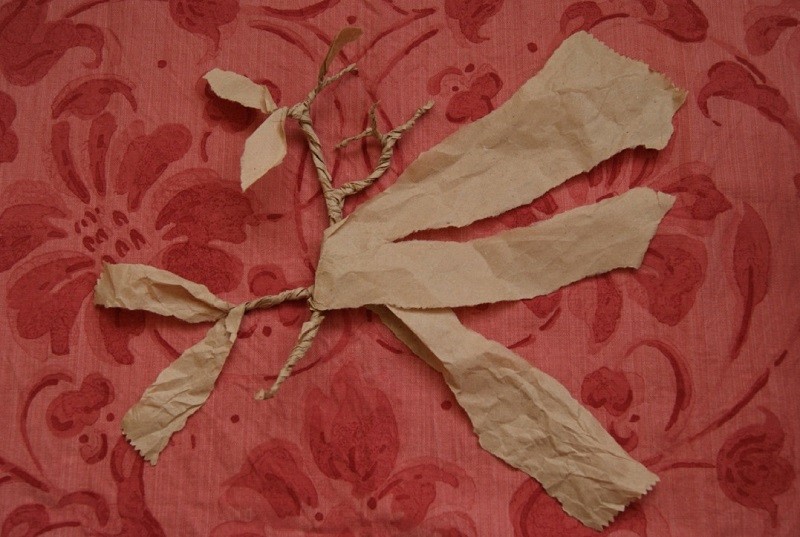
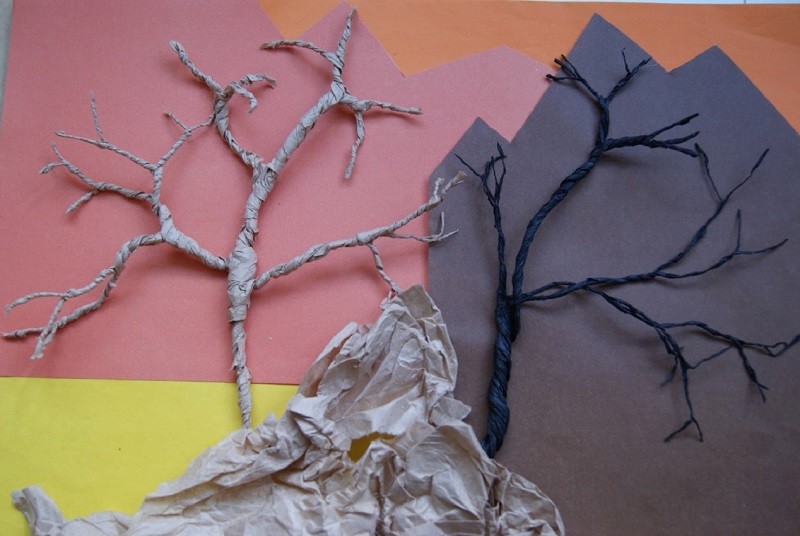
4. Twisted Trees
Crumpled paper is great for art projects, but if you want realistic-looking trees, use twisted packaging or brown bag paper. It’s as simple as tearing the paper into two or three pieces and starting twisting them, then tearing each piece again to make more “branches” – and continuing to do so until they become thin, like in real trees. The thickness and shape of your tree and how many “branches” it will have are mostly random and resulting from experiments, not from any initial design – but that’s what makes it even more fun. You never know what you will get, but practice may make you good at creating some special type of trees.
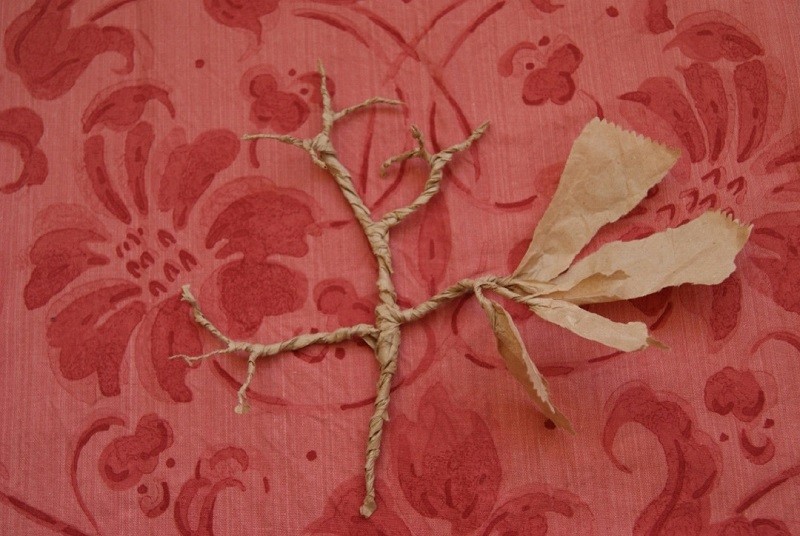
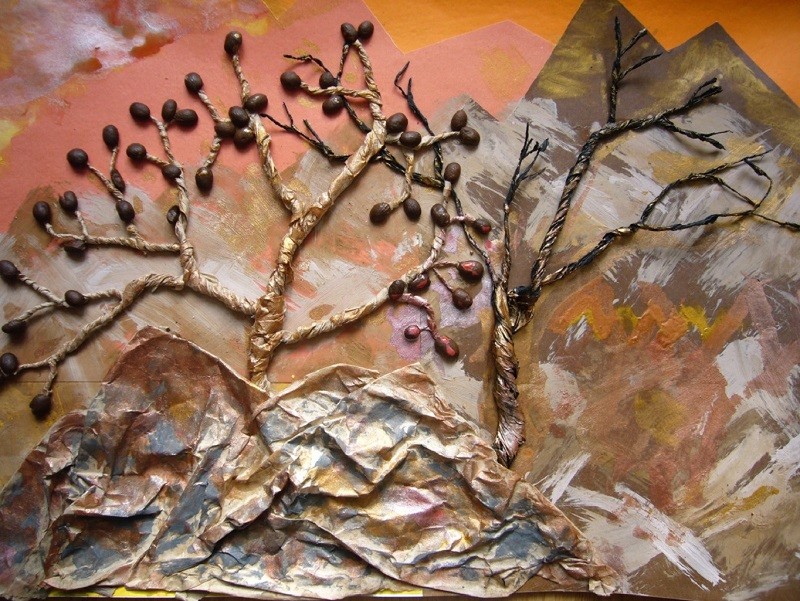
“Plant” the trees gluing them to the background of your choice – the crumpled paper is good for creating some scenery for that (representing rocks, soil or water), but your picture will probably be more complex than that:
Another great technique to use is toothbrush painting – an old toothbrush or the one that needs to be replaced is easy to find in any home. It is hard to say what is more fun – a new use for an old thing, or a different tool for nicely textured paint strokes – but kids love it. The trees would be incomplete without leaves or fruit of some kind, and these can be cut out of paper, but the initial choice of black paper for the tree lead me to this sunset design, so the green leaves didn’t go well with it. The trees would either have to be bare, or – as my kids like coffee bean projects, we used those instead. The little fingers proceeded to add all kinds of color accents they wanted, and when they were done, our final version of this picture looked like that:
Would your kids be interested in doing something like this? What are your favorite techniques to use for art projects?
Photos: Ann Joy
