3 Unique DIY Mother’s Day Gifts
You can buy many nice things as gifts for Mother’s Day. They can be expensive or inexpensive – the price is not what makes a gift special, but you sure know what does – creating it yourself. So, if you don’t have time for shopping, or if your mother insists you shouldn’t buy her anything, make something special on your own.
Some of us are better at DIY projects than others, some think they don’t have the necessary skills, and some never know until they try. If you believe you belong to the last two groups, you should definitely try and you might be surprised!
It doesn’t have to be something complicated, or something requiring you to look for stores that sell arts and crafts supplies only to find yourself lost among lots of bottles and tools. Have you ever wondered if there’s something so easy anyone can do it? Here are a few ideas you can try with your little ones.
Handflowers
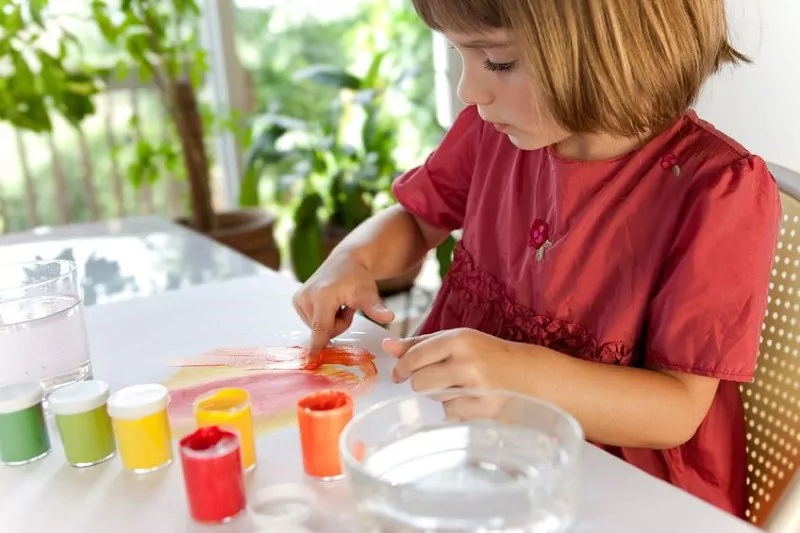
You know what windflowers are, but handflowers are a different kind – the ones that were created by loving hands, the most special and long-lasting flowers you can give someone. Handflowers are so simple and so great-looking that kids scream with delight when creating them! The most amazing thing is that adults feel like doing the same if they think they could never paint anything that looks like flowers.
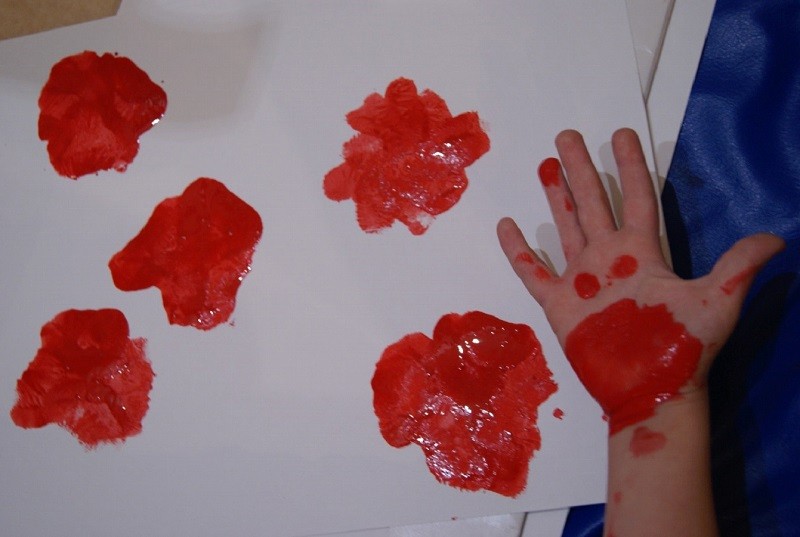
All it takes is dipping the lower part of your palm in gouache poured into a plastic dish or tray, and leaving prints on paper. This is great fun for anyone, not just kids, but if you are uncertain about trying, get some kids for company – they will be very enthusiastic and encouraging!
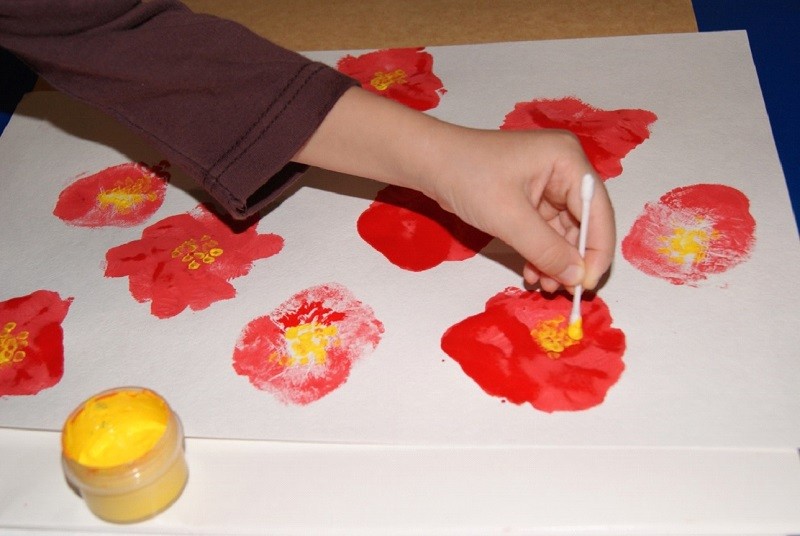
With these flowers, you can use cotton swabs for color accents, and your fingers to leave traces that look like leaves. I don’t know why kids love these two kinds of tools for painting so much, but I agree that they often work much better than brushes.
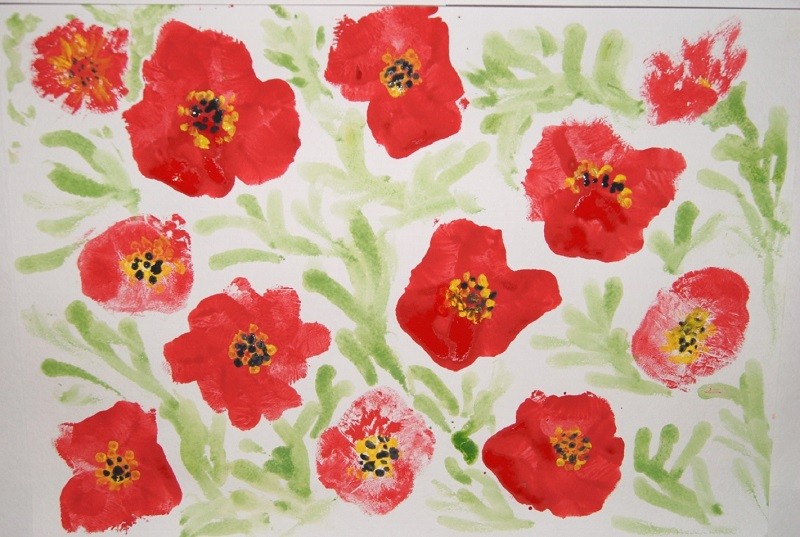
Pressing sticky paint to paper creates streaks and nuances of color as well as textures which are unique and quite unpredictable, but look very natural and varied. No identical flowers will be produced, as it often happens when you use the same brush and the same technique. Besides, not only you don’t need any painting brushes – you can also skip the paper, blotting these lovely flowers onto glass or mirrors for a holiday decoration or a special surprise, double the fun for everyone!
Gouache will wash off with water or regular window cleaners. Still, paper probably works the best, and you can also get even better results if you buy a sketching or a watercolor pad found among school supplies in shops or supermarkets. This kind of paper is thicker and has a coarser texture.
Sets of bigger-sized sheets of paper marked as “watercolor” are also often sold there – you might want some of those, as the bigger the hand, the bigger are the flowers. However, you can ask your child to lend you a hand (literally!) that you will use as a painting tool to vary the size of the flowers.

Collage-Style Storage Box
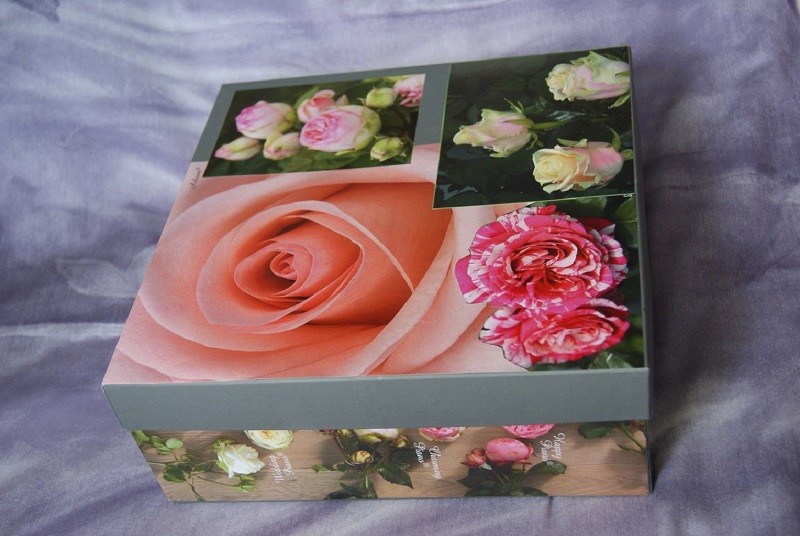
Have you ever loved the cover of a magazine, or the photos in it so much that you wanted to buy the magazine at once? Perhaps these landscapes, flowers or fashion things were so beautiful you’d love to frame them and hang them on the wall, but you didn’t want to make holes in the walls, or to mix magazine clippings with family pictures? Now you know where they can go instead of gathering dust on the shelf while you are reluctant to throw out that magazine or flower catalogue.
All you need is a shoebox, and a glue stick that can be easily found at any supermarket. A glue stick works better for this than any liquid glue, because it doesn’t make the paper bulge (unless you apply too much and have blobs all over), and it doesn’t take forever for the box to dry after you have decorated it. Simple and fast!
Too bad that glue stick often doesn’t work well near the corners, so if you see a corner of your beautiful picture turn up, you can use some liquid glue on that spot and the pressure of your fingers to secure it in place. There may be fancier ways of decorating boxes – with fabric, for example, or using decoupage techniques, but being complicated and time-consuming often takes out the fun, especially for the kids.
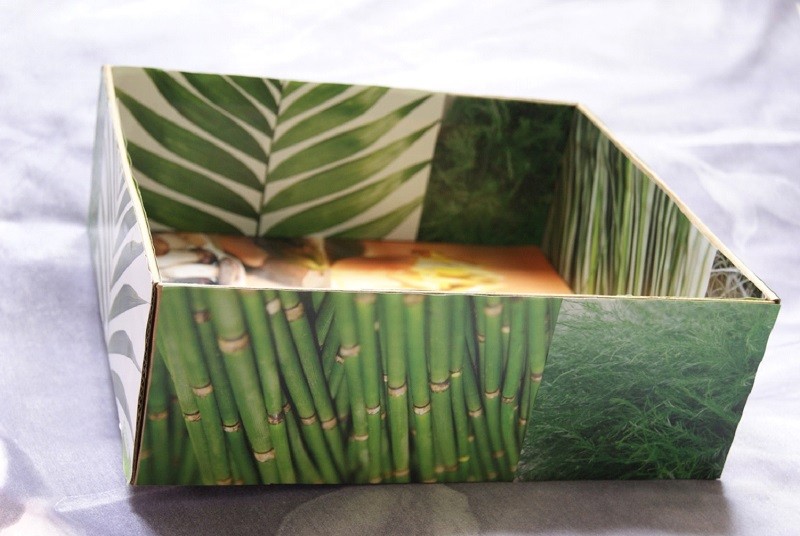
Collage technique is the fastest and easiest way to decorate a box which can nicely swallow up some of your stuff that is scattered around – without being an eyesore, whether you place it in the closet or on an open shelf. Since you create a unique design for it, it can make a simple but special gift. You can also decorate the inside of the box if you wish.
Jewelry Tree
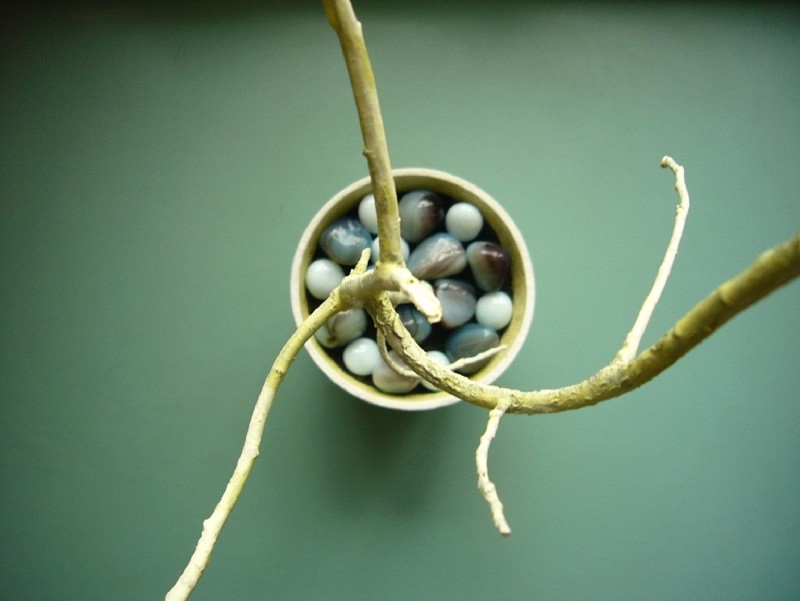
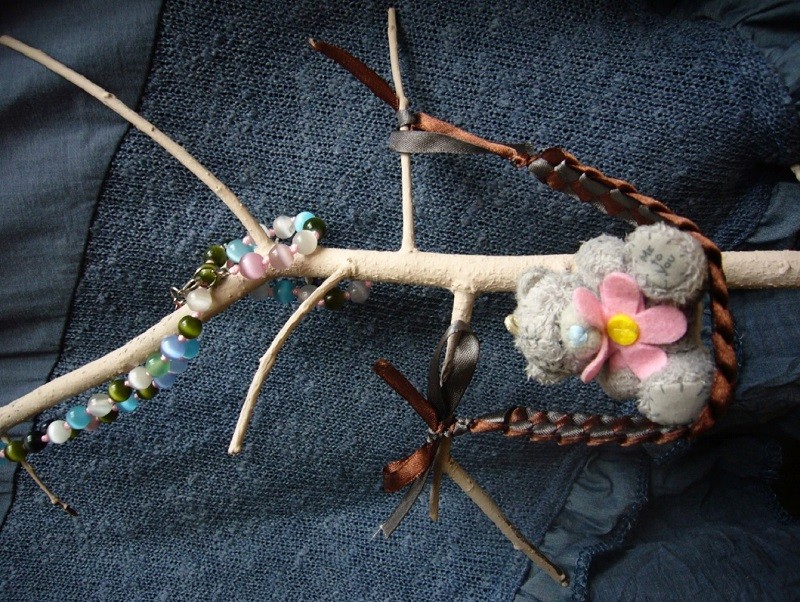
You can find lots of jewelry trees in the shops and online – but it’s not only the price that has always made me turn away from those. For some reason, my heart has never warmed up to any of such metal and wire constructions. I don’t have lots of jewelry, so it can fit into a small box, but as kids kept bringing home twigs of different shape, I thought these can make natural-looking jewelry trees.
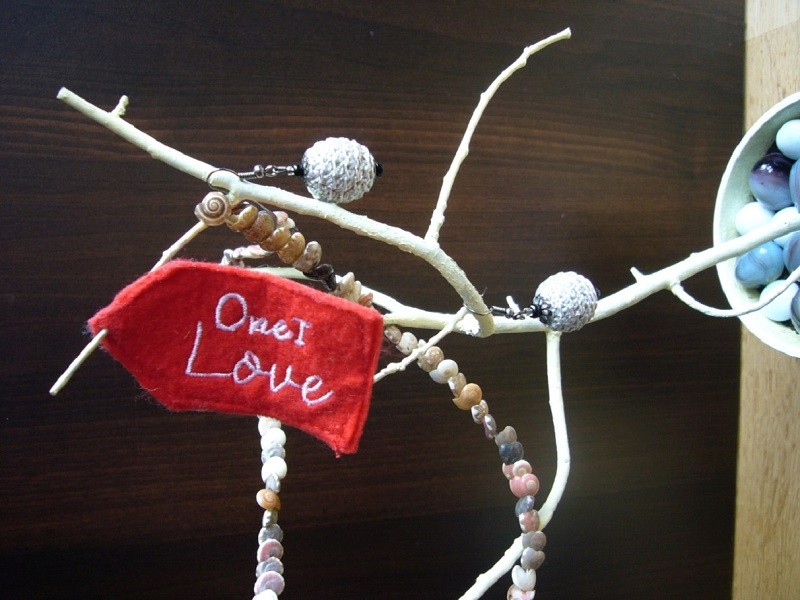
Just pick some nice ones in your own backyard, or during a walk in the woods, and give them a coating of acrylic paint. You can make a twig arrangement in a vase, or use a pretty flower pot filled with soil or sand. Place natural or decorative artificial stones at the base of your tree, then decorate its “branches” with jewelry items or other small gifts to that special person you’re making it for.
See, it doesn’t have to be very elaborate or hard to make. It’s mainly the joy of creating and gift-giving that counts. Just as I’m sure anyone will like something handcrafted exclusively for them, I believe anyone can enjoy creating handmade gifts. Do you agree?
Photos: Ann Joy
